
Software
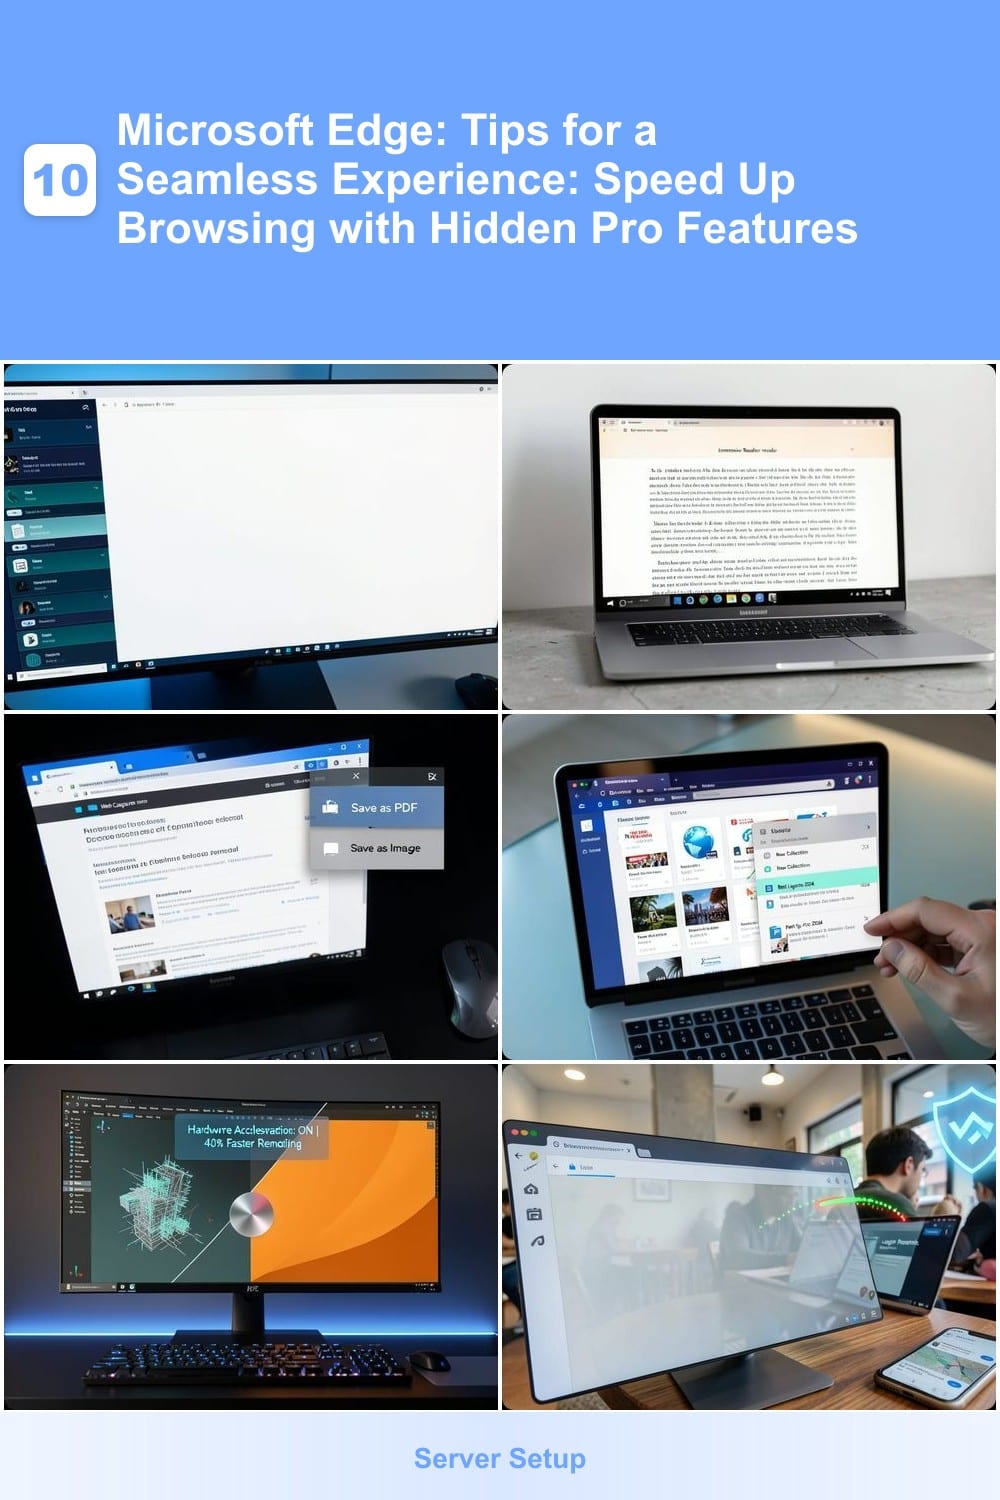
Microsoft Edge packs powerful features most users overlook. These seven pro tips will transform your browsing experience—boosting speed, security, and productivity without sacrificing simplicity.
Enable Vertical Tabs for Multitasking Efficiency
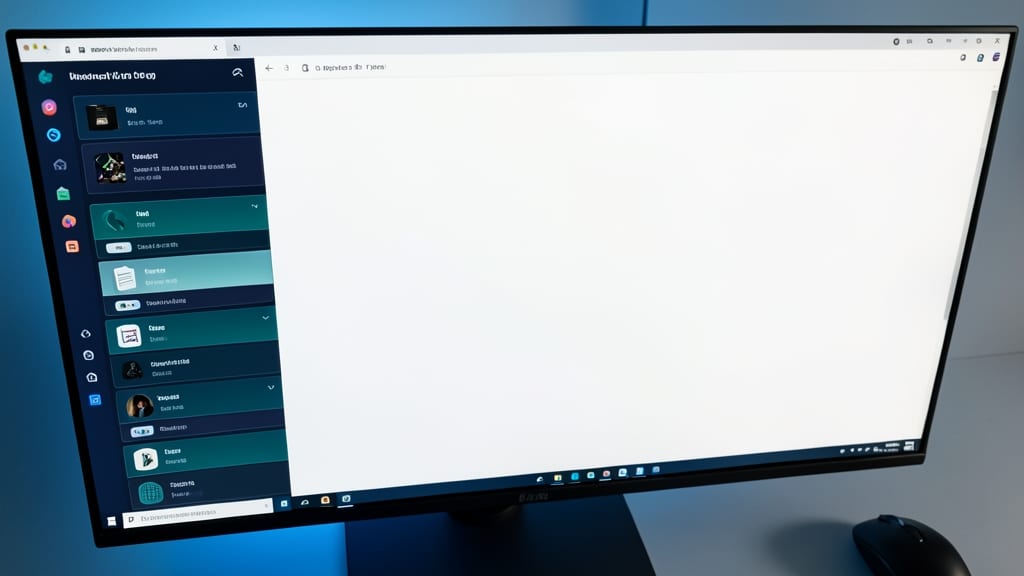
If you’re drowning in open tabs but hate the clutter of horizontal scrolling, Microsoft Edge’s vertical tabs feature is a game-changer. This sleek layout stacks tabs neatly along the left side of your screen, freeing up precious horizontal space for content—ideal for developers, researchers, or anyone juggling multiple projects.
To enable it, click the three-dot menu in the top-right corner, navigate to Settings > Appearance, and toggle "Show tabs in a vertical list". Once activated, you’ll gain instant visual organization: tabs appear as a compact sidebar, making it easier to spot and switch between them. The feature also syncs across devices, so your workflow stays consistent whether you’re on a 4K monitor or a laptop.
This tweak is perfect for power users who thrive on efficiency—whether you’re comparing code snippets, tracking research, or managing client projects. Try it and reclaim that lost screen real estate! 💻
Use Immersive Reader for Focused Text Reading
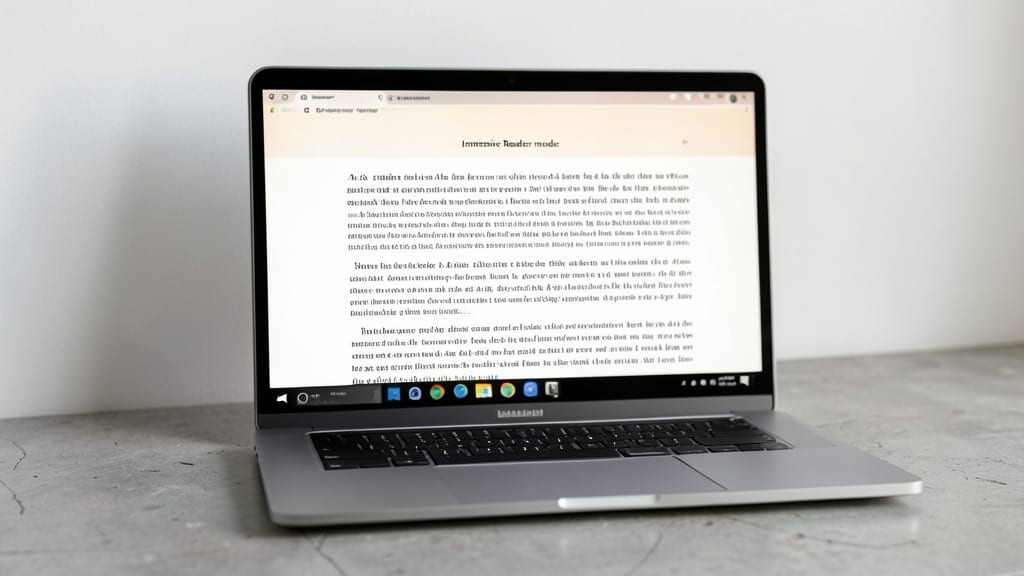
Struggling to focus while reading dense articles or research papers? Microsoft Edge’s Immersive Reader is your secret weapon—designed to eliminate distractions and enhance readability with customizable font scaling and adjustable line spacing. This built-in tool transforms cluttered web pages into a clean, distraction-free experience, making it perfect for students or professionals drowning in text-heavy content.
With dyslexia-friendly fonts, background color options, and text-to-speech support, Immersive Reader adapts to your needs. Simply highlight a section of text, click the Immersive Reader icon in the toolbar, and watch as the page simplifies—no extensions or extra tools required. The line length adjustment ensures optimal focus, while the highlighting feature helps track progress effortlessly.
This tool is a game-changer for anyone who spends hours reading—whether you're studying, writing reports, or analyzing data. Give it a try and rediscover the joy of reading without distractions. ✨
Activate Web Capture for Instant Research
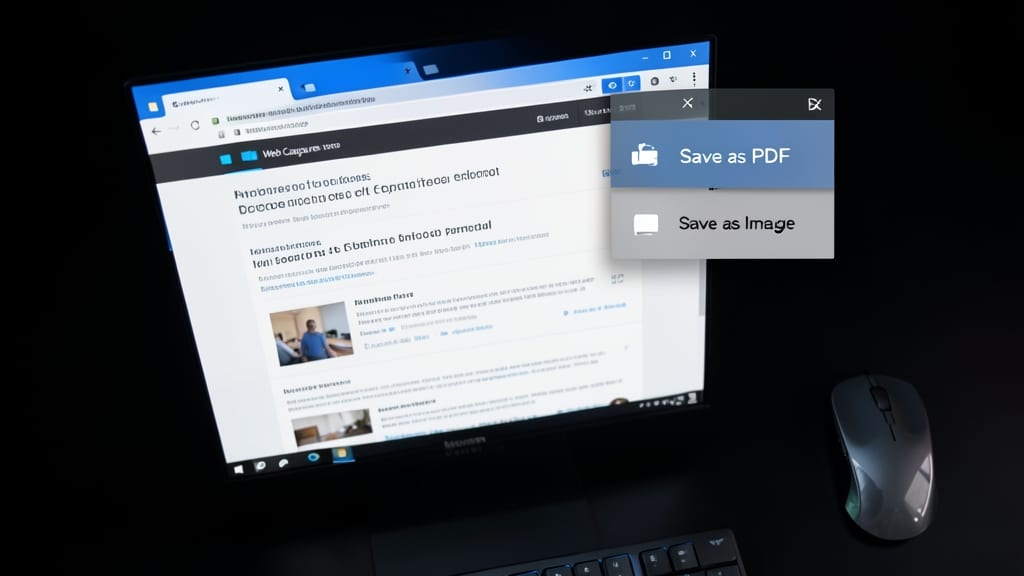
Tired of losing research data when a webpage disappears or changes? Web Capture in Microsoft Edge saves entire pages—including text, images, and formatting—as PDFs or images with one click, ensuring your sources stay intact forever.
Simply open the page, click the three-dot menu → Web Capture, then choose PDF (for text searchability) or Image (for visual fidelity). The tool even preserves interactive elements like charts and tables, making it perfect for academic papers, legal documents, or product comparisons. No extensions or third-party tools needed—it’s built right into Edge.
Researchers, journalists, and students will love this zero-config solution. Save time by archiving sources instantly, then annotate or share them without formatting loss. ✨
Customize Start Pages with Collections
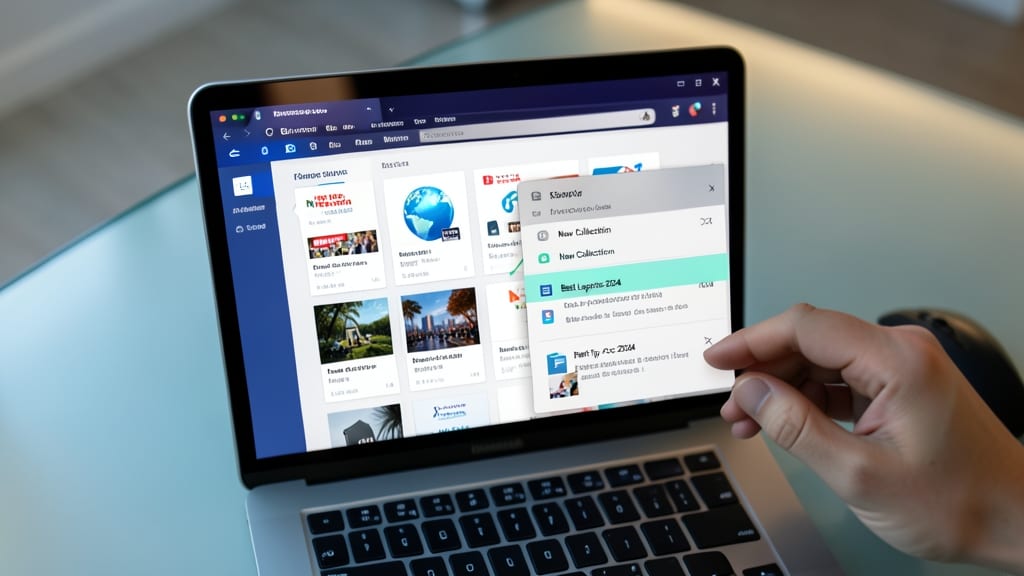
Tired of a cluttered start page drowning in random bookmarks and news links? Microsoft Edge’s Collections feature lets you organize your digital life by theme—whether it’s tech reviews, travel planning, or work projects.
Create custom collections with a simple right-click, then drag and drop links, notes, or even screenshots into themed folders. Each collection syncs across devices, so your productivity dashboard stays consistent. Need a quick reference? Pin collections to your start page for instant access—no more digging through tabs.
Perfect for students researching topics, freelancers tracking clients, or anyone who wants a clean, purpose-built home screen. ⚡
Enable Hardware Acceleration for Faster Performance
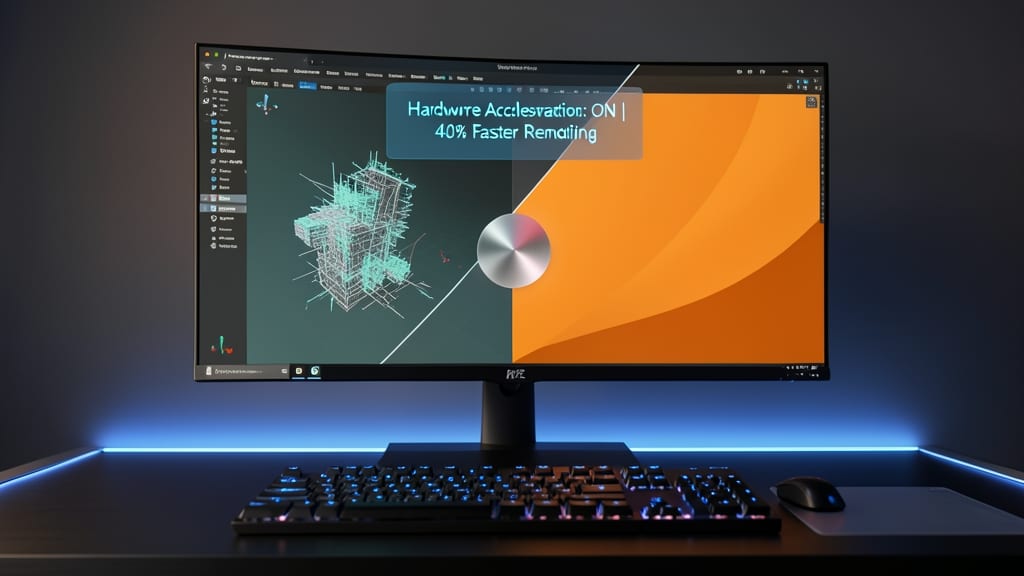
Tired of waiting for complex web apps to load? Hardware acceleration in Microsoft Edge leverages your GPU to render graphics-heavy sites—like design tools or 3D modeling platforms—up to 40% faster than default settings. This hidden feature offloads processing from your CPU, freeing up resources for smoother multitasking.
To enable it, navigate to Edge Settings > System > Hardware Acceleration and toggle it on. For users with NVIDIA RTX or AMD Radeon GPUs, this is especially valuable—think faster scrolling in Figma, instant previews in Blender, or seamless video editing in Canva. Just ensure your drivers are updated to avoid glitches.
Developers testing responsive designs or creatives working with high-res assets will notice the biggest difference. Give it a try—your GPU’s been waiting for this call to action! ⚡
Use Edge’s Built-in VPN for Secure Browsing

Public Wi-Fi networks are convenient but risky—your browsing history, logins, and even location data could be exposed. Microsoft Edge’s built-in VPN solves this with a zero-configuration, free solution that encrypts your traffic without requiring a separate account or subscription.
Activating it takes seconds: just toggle the VPN icon in Edge’s address bar to connect to a server in the U.S., U.K., or Japan. While it doesn’t bypass geo-restrictions, it masks your IP address and prevents ISPs or hackers from snooping on unsecured networks. The automatic encryption works across all sites, not just HTTPS pages, making it ideal for quick security without the hassle of third-party apps. 💻
Automate Tasks with Edge Workspaces
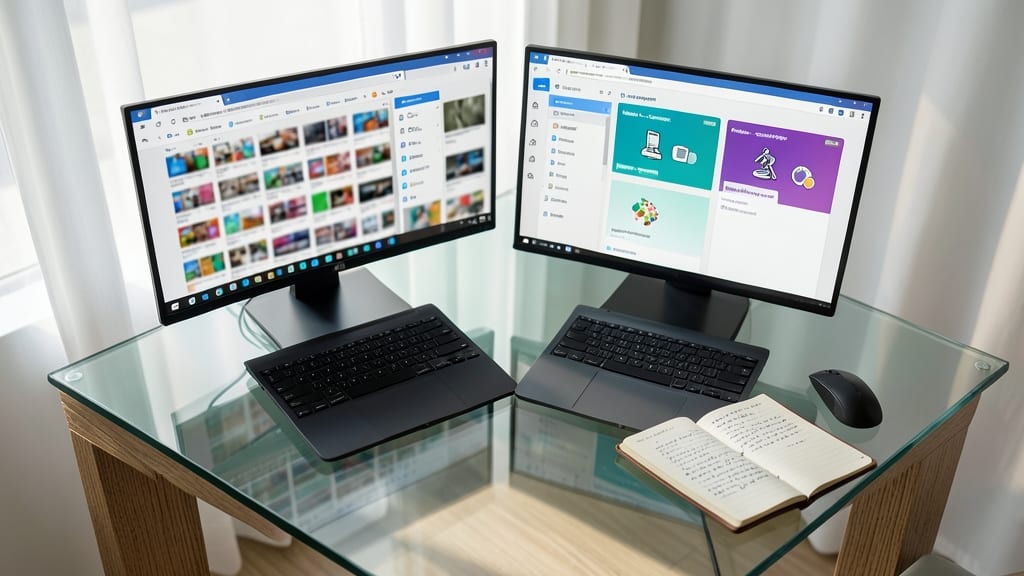
Say goodbye to the chaos of endless tabs cluttering your screen—Edge Workspaces lets you group tabs by project, client, or topic with just a few clicks. Whether you're a freelancer juggling multiple contracts or a researcher diving deep into niche topics, this feature keeps your workflow organized and distraction-free.
Create a workspace by clicking the Workspaces icon in the address bar, then drag and drop tabs into labeled groups. The magic? Your workspaces sync across all your devices (Windows, Mac, Android) via Microsoft account, so you can pick up where you left off. Add notes, deadlines, or even pinned tabs to each workspace for a true project hub—no third-party tools needed.
Freelancers and remote teams will love how workspaces eliminate the "where did I save that?" problem. Researchers benefit from keeping related articles, PDFs, and tools in one place without losing track. It’s like having a digital binder for every project—built right into Edge. ✨