
Tip & Trick
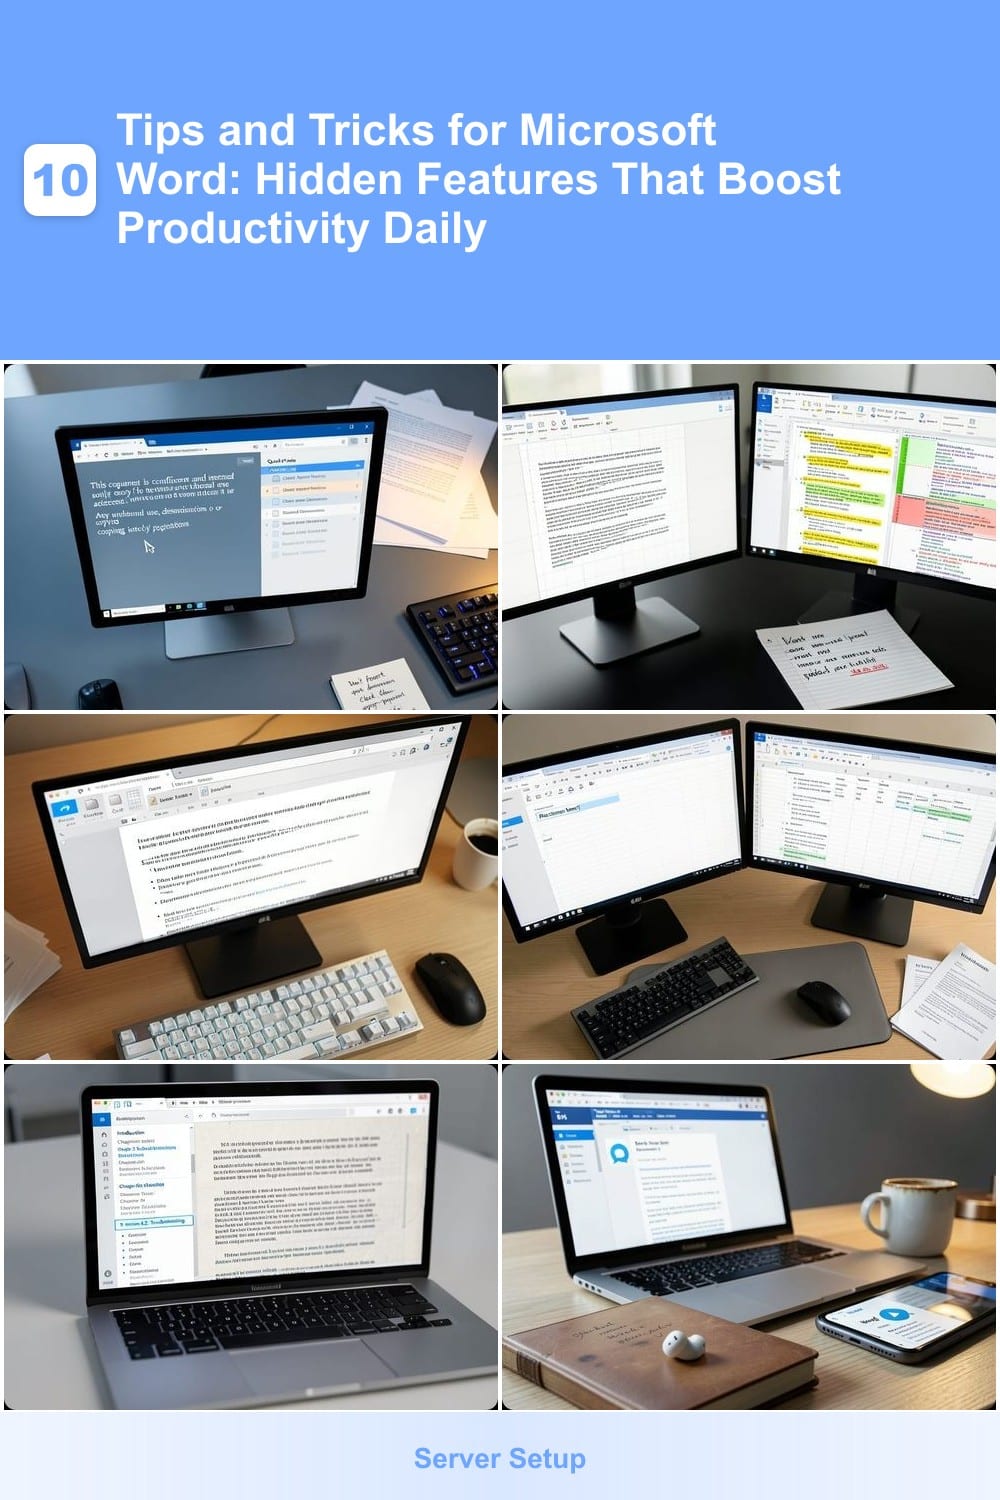
Microsoft Word is packed with hidden features that can save you hours every week. These 10 productivity-boosting tips and tricks will transform how you work with documents, from automation shortcuts to advanced formatting hacks.
Quick Parts Gallery for Reusable Text Blocks
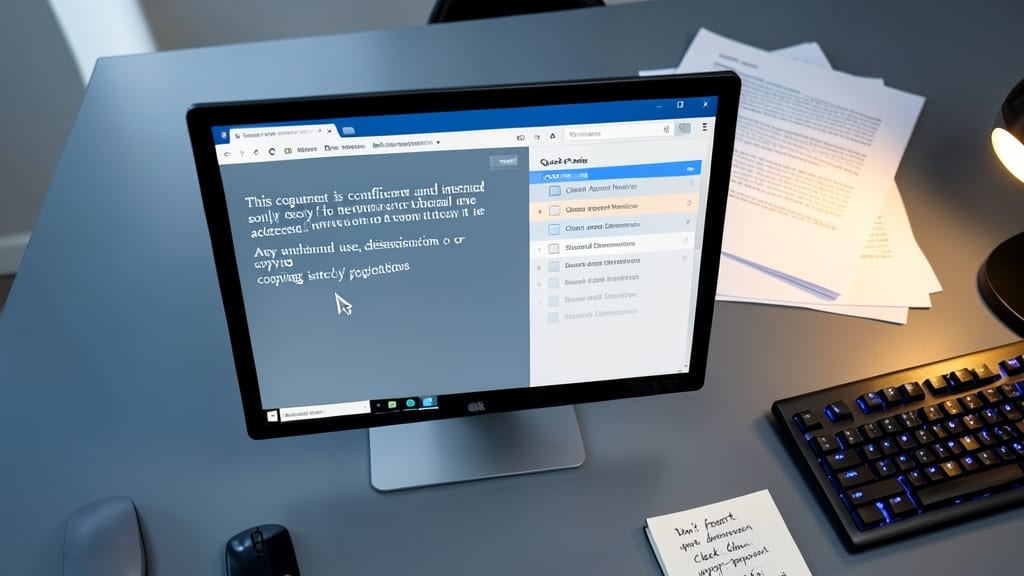
Tired of manually copying and pasting the same phrases, signatures, or legal disclaimers into every document? Microsoft Word’s Quick Parts Gallery lets you save reusable text blocks once and insert them instantly with a keyboard shortcut—saving you 70% of copy-paste time.
To get started, highlight the text you want to reuse, then navigate to Insert > Quick Parts > Save Selection to Quick Parts Gallery. Assign a shortcut (like Ctrl+Shift+Q) to summon your saved blocks in seconds. Perfect for email signatures, project templates, or even complex legal clauses, this feature works seamlessly across all Word versions.
Ideal for professionals juggling repetitive tasks—think lawyers, marketers, or HR teams—this trick keeps your workflows smooth and error-free. ⚡
Track Changes with Comments and Markup
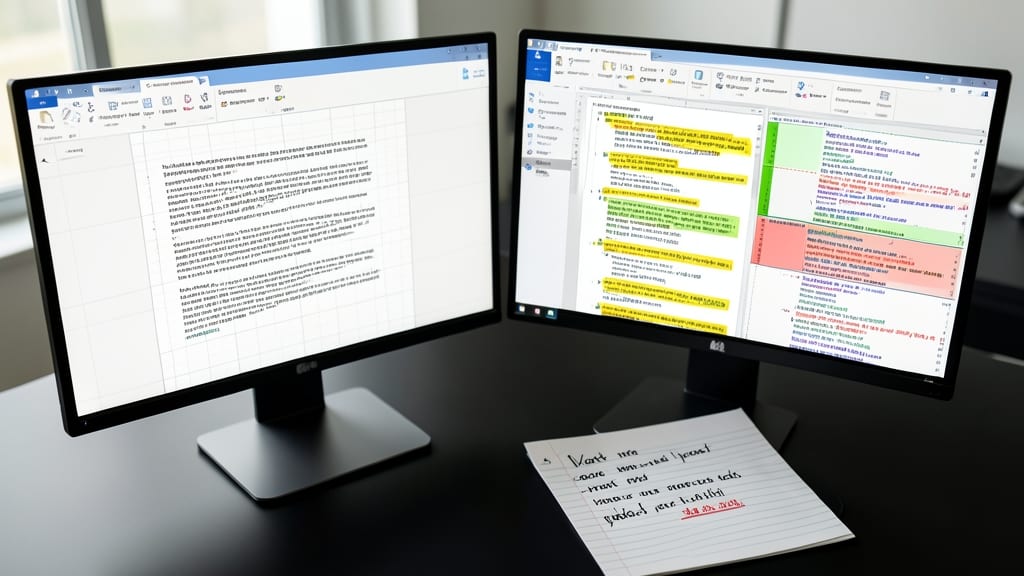
Ever spent hours manually comparing document versions or deciphering handwritten notes in the margins? Microsoft Word’s Track Changes feature turns collaboration into a streamlined process—highlighting edits, inserting comments, and even comparing entire documents side by side.
Enable it via Review > Track Changes to mark insertions, deletions, and formatting tweaks in real time. Use comments (Insert > Comment) to leave feedback directly in the text, and Compare (Review > Compare) to merge two versions while preserving context. The Final Showing Markup option lets you review changes before accepting or rejecting them—critical for legal or academic drafts.
Perfect for teams, professors, or freelancers juggling revisions, this tool keeps everyone aligned without losing the paper trail. ⚡
Customizable Quick Access Toolbar Shortcuts
Tired of hunting through menus for the same commands every time? The Quick Access Toolbar lets you pin your most-used actions—like Undo (Ctrl+Z), Save (Ctrl+S), or Insert Table—right at the top of the screen for instant access. This simple tweak can shave 30% off your workflow time, especially for tasks like formatting reports or drafting emails.
To customize it, click the dropdown arrow on the toolbar and select "More Commands." Here, you can add any command from Word’s ribbon, rearrange them, or even assign keyboard shortcuts for extra speed. Pro tip: Drag frequently used icons directly from the ribbon into the toolbar for a zero-config setup. Whether you’re a legal professional or a student, this trick keeps your workflow fluid and mouse-free.
Perfect for power users who hate scrolling through menus, this feature works seamlessly across Word for Windows and Mac. Once set up, it’s a game-changer for repetitive tasks—like inserting headers or adjusting margins—without breaking your rhythm. ⚡
Mail Merge for Personalized Bulk Documents
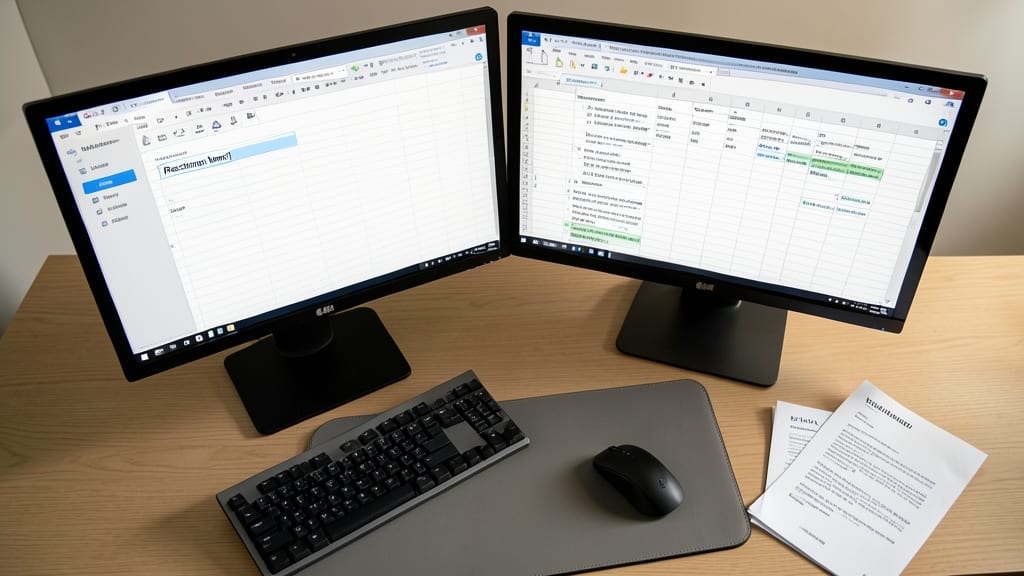
Tired of sending generic emails or printing identical letters? Mail Merge in Word turns repetitive tasks into automated workflows by pulling data from Excel spreadsheets—think personalized invoices, event invitations, or onboarding letters in seconds.
Start by opening your Word template and navigating to Mailings > Start Mail Merge. Select your document type (letters, emails, or labels), then click Select Recipients and choose Use an Existing List to link your Excel file. Fields like <
This trick is a game-changer for small business owners sending contracts, HR teams distributing offer letters, or marketers blasting tailored campaigns—no more manual copy-pasting. ⚡
Navigation Pane for Large Documents
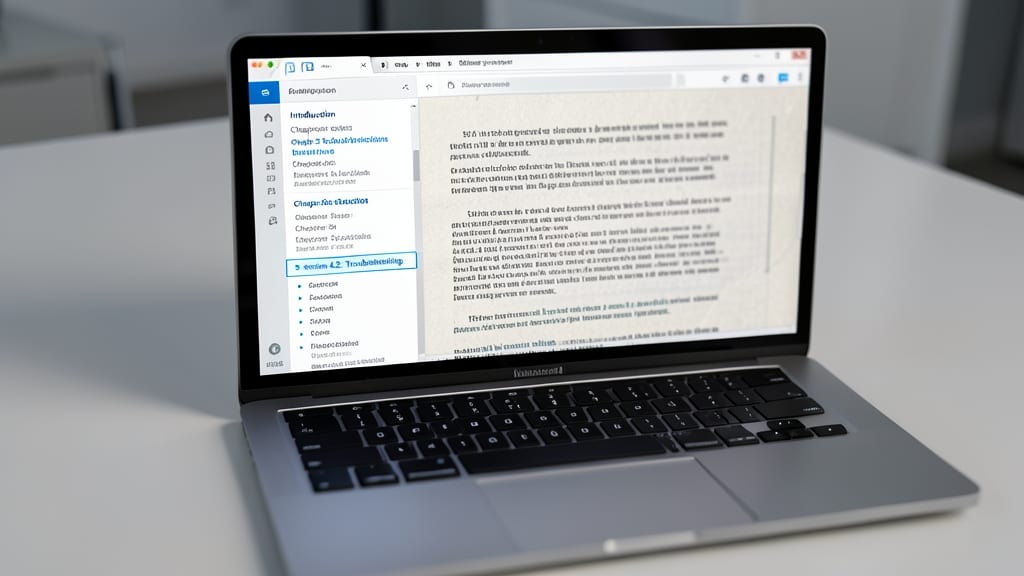
Struggling to find that one critical section in a 50-page manual? The Navigation Pane in Microsoft Word is your lifeline, transforming chaotic scrolling into instant access. With just one click, you can jump to headings, page numbers, or even the table of contents—no more guessing where your next reference is buried.
Enable it via View > Navigation Pane (or press Ctrl+F for a quick shortcut). Here, you’ll see a structured outline of your document, complete with expandable sections and page previews—perfect for researchers or technical writers juggling complex reports. The search bar even lets you type keywords to locate specific content across the entire document.
This trick is a game-changer for anyone editing lengthy documents, from academic papers to user manuals. Spend less time searching and more time writing—your future self will thank you. ✨
Text to Speech for Editing on the Go

Ever catch yourself re-reading the same paragraph three times because your eyes just glazed over? Microsoft Word’s built-in Text to Speech (TTS) tool transforms passive reading into an active editing session—letting you listen to your work while walking, commuting, or even doing dishes.
With 15+ natural-sounding voices (including male, female, and neutral tones) and adjustable speed, you can pause, rewind, or skip sections effortlessly. The tool even supports documents up to 100 pages, making it perfect for theses, reports, or long-form writing. For accessibility, it includes screen reader compatibility and customizable font sizes for visually impaired users.
Writers with ADHD, students editing essays, or professionals reviewing contracts will love this hands-free approach. Just press Ctrl+Shift+F10 (Windows) or Fn+Ctrl+Shift+F10 (Mac) to start—no extra software needed! ✨
Compare Documents Side by Side
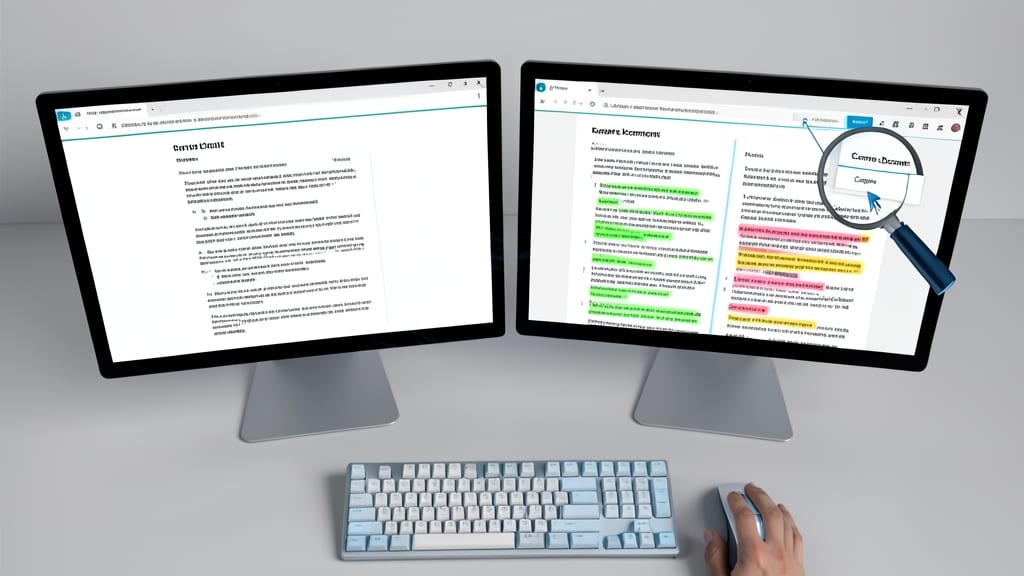
Ever spent hours cross-referencing two versions of a contract or research paper, only to miss a critical edit? Microsoft Word’s Compare Documents feature solves this with a single click—highlighting every addition, deletion, and formatting change in real-time.
Open the tool by going to Review > Compare > Compare, then select your original and revised files. Word instantly displays a side-by-side split screen with changes marked in yellow (insertions) and red (deletions). You can even accept or reject changes individually or merge them automatically. Perfect for legal teams, academics, or anyone managing version control.
This trick is a game-changer for collaborative work, ensuring no detail slips through the cracks. Give it a try next time you’re reviewing edits! ✨
Customizable AutoCorrect for Common Typos
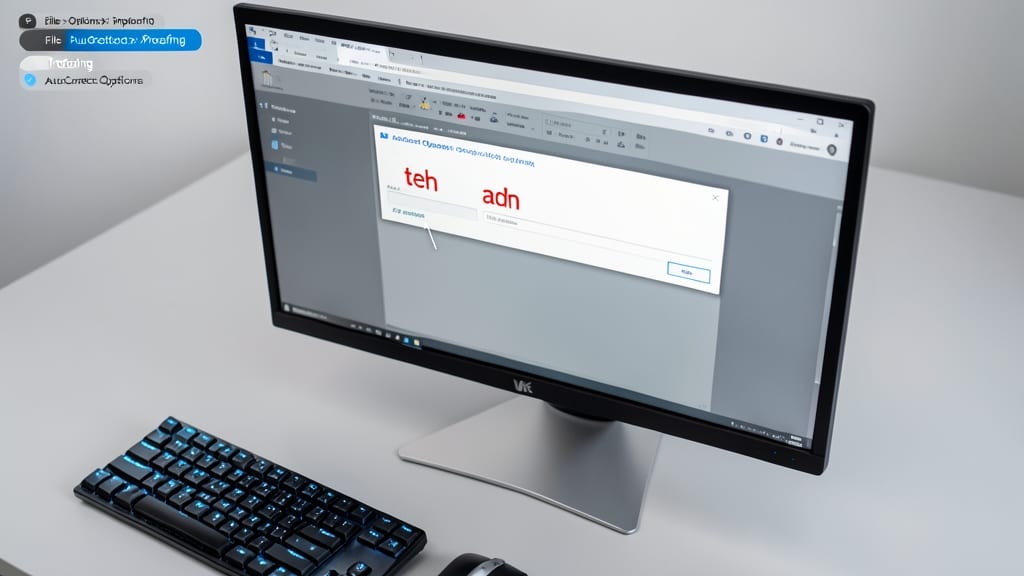
Tired of repeatedly correcting the same typos like "teh" or "adn" in your documents? Microsoft Word’s AutoCorrect feature lets you customize corrections on the fly—no more manual fixes mid-sentence.
To set it up, go to File > Options > Proofing and click AutoCorrect Options. Here, you can add entries like "teh" → "the" or "adn" → "and" to fix common mistakes instantly. For even faster typing, use AutoFormat As You Type to auto-format dates, currencies, or web addresses. Pro tip: Enable "Replace text as you type" to catch errors before they stick.
This trick is a game-changer for fast typists, journalists, or anyone who hates proofreading. Spend less time editing and more time writing—your future self will thank you. ✨
Insert Screenshots Directly from Screen
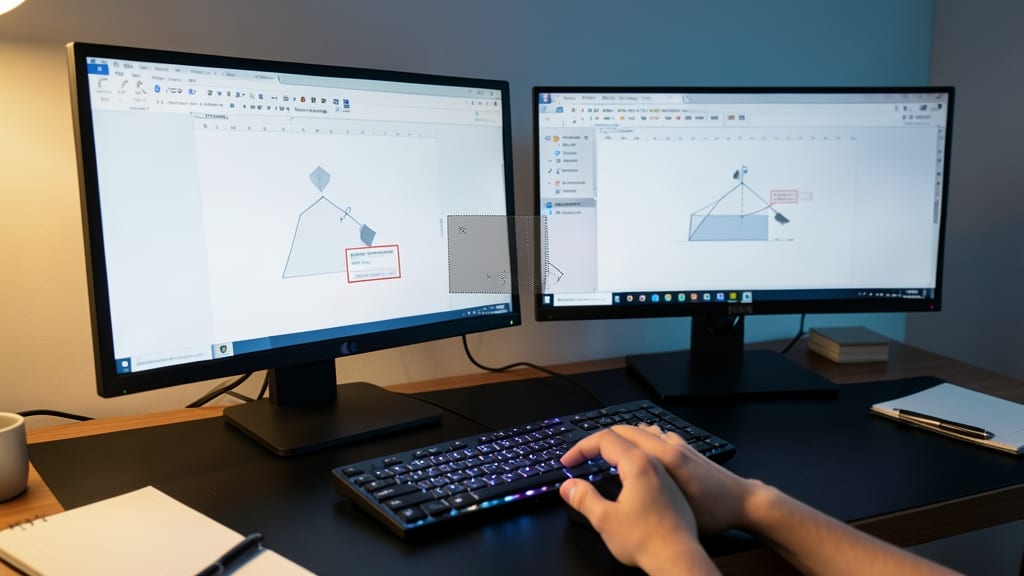
Tired of alt-tabbing between Word and screenshot tools just to capture a diagram or error message? Word’s built-in Screen Clipping tool lets you snap any on-screen content—including full windows, scrollable regions, or freehand annotations—directly into your document with a single click.
Press Win + Shift + S (Windows) or Shift + Command + 4 (Mac) to launch the floating toolbar, then select Rectangular Snip, Window Snip, or Freeform Snip to capture exactly what you need. The screenshot embeds instantly as an editable object, so you can crop, resize, or even annotate it without leaving Word. Perfect for tech writers, IT support docs, or step-by-step tutorials where visuals matter.
This trick saves minutes per document—ideal for developers, trainers, or anyone who documents processes regularly. No third-party tools required! 💻
Document Themes for Consistent Branding
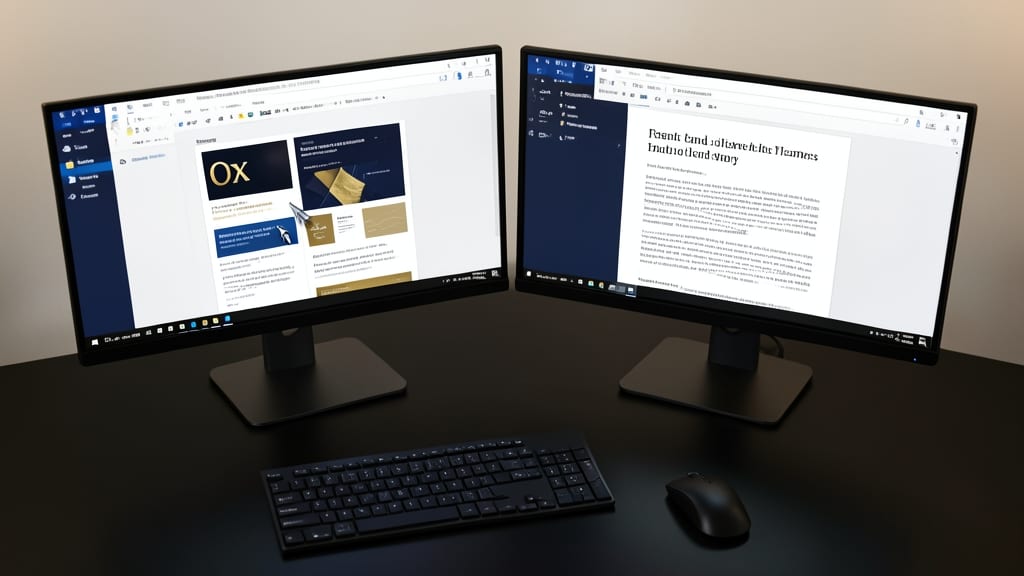
Tired of manually adjusting fonts and colors in every document to match your brand? Microsoft Word’s Document Themes let you apply cohesive color schemes, fonts, and effects in seconds—no design skills required.
Simply navigate to Design > Document Formatting and choose from built-in themes like "Oxford" (professional blue) or "Icy" (clean white). Each theme automatically updates headings, text, and background colors while preserving your content. For customization, tweak the font pairings (e.g., Calibri + Cambria) or color palette under Theme Colors—perfect for aligning with your logo or marketing materials.
Marketers, freelancers, and corporate teams will love this for consistent branding across proposals, reports, and presentations. One click, and your entire document transforms—no more formatting headaches. ✨